
Building a website from the ground up isn’t easy.
And, if you’re not tech-savvy, it can be even more challenging.
Luckily, it doesn’t have to be.
This is true if you get excellent hosting services and WordPress. With these, you can represent your art brand online without a line of coding.
Now, to help you get started, we’re going to give you the 5 important steps to building an artist website.
So are you ready to learn how to make an artist website?
Let’s dive right in!
Visual Tutorial: The Best Way to Make an Artist Website
Are you more of a visual learner? Then here is a video tutorial on how to make an artist website with WordPress.
The 5 Steps to Creating an Artist Website
When making an artist website, you should always follow these 5 main steps:
- Plan your website
- Get a domain and hosting service
- Set up WordPress
- Choose a theme
- Paint the town red!
Let’s look at the details of each step.
How to Make an Artist Website Step 1: Plan Your Website
Think of a blank canvas — that is what your website is right now.
Before picking up your brushes and paints, you develop an idea of the final product and how you’re going to get there.
The same is true with making an artist website.
Keep in mind that you are building a visual representation of your brand. The site will also serve as a platform for people to view your artwork and share and revel in your artistry.
So when you’re in the planning stages, always make sure to keep the following things in mind.
Services: What is Your Specialty/Field?
Your viewers need to know what you are all about with a click of a button.
Are you a painter? If so, what kind?
What art do you specialize in?
Do you offer commissioned painting services?
Do you offer services other than your specialty?
In your list of services, you can add your portfolio. This is so your visitors will see your artwork and your attention to detail. Remember, people are more responsive when they see an artist’s past works.
Let them see the entire spectrum of your capabilities.
If you specialize in many forms of art, showcase each one to highlight diversity. If you only offer one kind of artistry, fill your portfolio with as many of your best works to emphasize your experience.
About Me: Who Are You?
The main component of your website should highlight what you are: a painter, a sketch artist, a sculptor, an actor, a writer, etc.
However, in your ‘About Me’ section, you answer who you are: a teenager, a senior, a young adult, a full-time artist, a freelancer…
Here, you include your bio. You add your history, your vision, where you offer your services, where you studied the artform… Anything and everything you want people to know about you.
Whether on a professional level or a more personal one, you can take this opportunity to allow your site visitors to get to know YOU.
Testimonials/Case Studies: An Evaluation of You and Your Work (How Are You?)
Visitors should be able to find reviews and evaluations of your work and services on a testimonial and case study page.
You can keep it simple with testimonials from past clients, galleries, and colleagues. If you want to give clients more insight, you can integrate case studies into this page.
A case study determines an artist’s methodologies, unique techniques, and specialism. Unlike client testimonies, case studies are third-party reviews from professionals in the industry who understand the artform in-depth.
Contact: Where Are You?
If someone is sold on the idea of hiring you or buying something from you, where can they reach you?
Your contact details also provide clients with an avenue for their queries and concerns, which heightens your legitimacy. This is essential in making your site more accessible and making you as an artist more approachable.
Blog: How Can You Help?
Blogs on your website are an optional integration. However, blogs help increase your SEO. Search engine optimization pings keywords and online activity.
Blogs help keep your site fresh in the eyes of search engine algorithms. The activity of adding relevant content to your site frequently will help your website rank during searches.
How to Make an Artist Website Step 2: Get a Domain and Hosting Services
Now that you have your website all planned out. The next step is your domain and hosting service.
Yes, there are hundreds of web hosting services out there. But throughout our search, Bluehost has continuously popped up as one of the leading hosts around the world. Its affordable prices make it better suited for new websites.
Another crucial aspect is your domain as it will be your website’s name.
If you partner with Bluehost, you get a FREE domain for a whole year. You will have to pay for it in the succeeding years, but it isn’t a bad deal!
Alternatively, you can set up a domain name with Domain.com. You can type in your name ideas to look around and check what’s taken or available.
Here are some key aspects to keep in mind before settling on a domain:
- Add your name/type of service to it as much as possible
- Keep it brief – around 10 or 12 characters is best
- Integrate keywords – use words related to your website, services, or artform.
What’s more, BlueHost is 1 of the 3 hosting services that WordPress recommends. So you can trust that it works very well with WordPress.
Partnering with BlueHost
If you’re interested in BlueHost’s services, visit their website at Bluehost.com.

Click on ‘Host Your Site’ to see its packages and how much they cost.
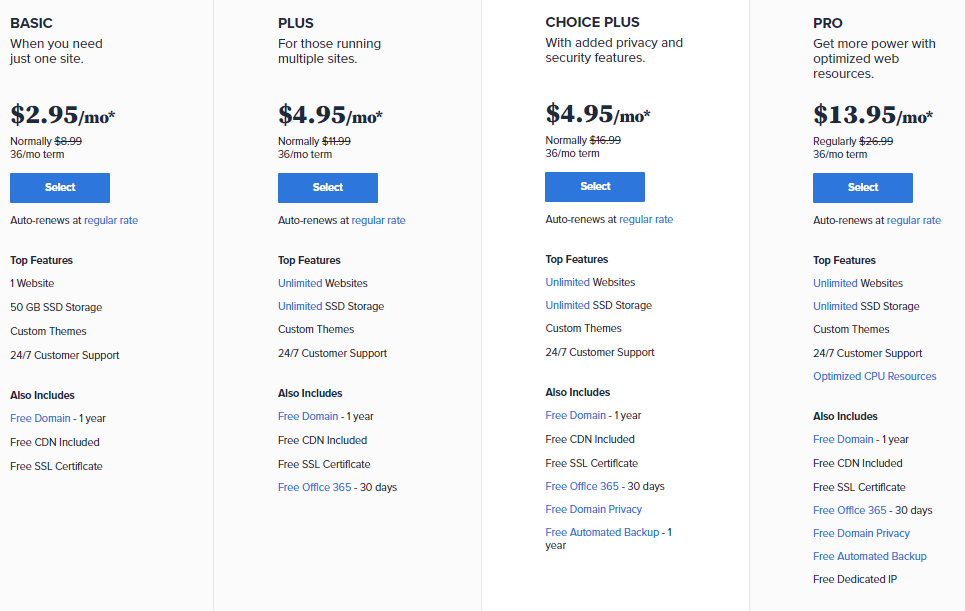
You can opt for its BASIC package. It is one of the cheapest at $2.95/mo for a 36/mo term. That’s already an awesome deal for all its offerings.
What’s more, you can opt for a more extensive service suite with a higher package.
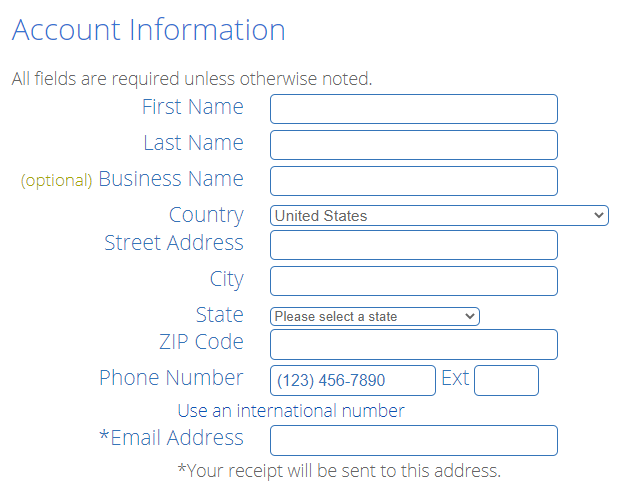
Once you have chosen a package, fill out the Account Information page.
On this page, you will answer questions regarding personal information.
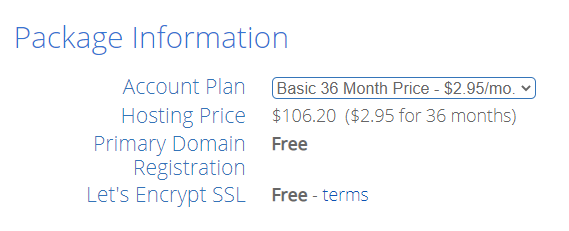
You can go with the original package on the Package Information page or opt for another Account Plan.
Here, you can choose from its four choices: 1, 12, 24, and 36-month terms. Below the plan you select, you will see some of its corresponding features.
Then, you can take your pick from its Package Extras. With this, you can add features that are not available in the package but are useful for your website. If you don’t want to avail of any extras, you can skip to Payment Information.
But if you are interested in the extras, here are your options.
Domain + Privacy Protection.
The additional charge for this added layer of protection is worth it.
Without Bluehost’s added Domain + Privacy security feature, private details about your domain are accessible to anyone.
Details include and are not limited to: its owner, handler, and other information you don’t want in the hands of hackers and spammers.
Codeguard Basic.
It’s a universal truth – websites crash. Sometimes, it’s no one’s fault. But without the necessary backups, you could lose your files permanently.
Bluehost’s Codeguard backs up your files automatically on a daily basis, which makes restoring them possible.
Bluehost SEO Tools Start.
Unlike Domain + Privacy Protection and Codeguard, SEO Tools isn’t geared toward site protection.
Bluehost’s multifaceted SEO tools help your website grow, as well as provide weekly reports that give you insight into your website’s stats.
It’s not an essential feature, but it’s a cost-effective means for your site’s growth.
Finally, we get to Payment Information. It’s time to pay up!
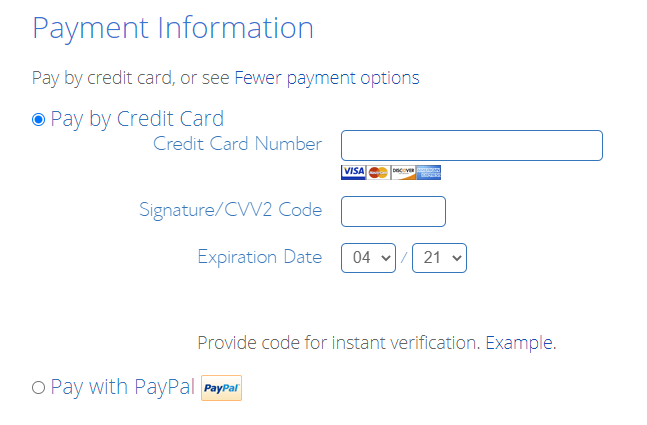
Bluehost accepts all major credit and debit cards. It also accepts PayPal payments.
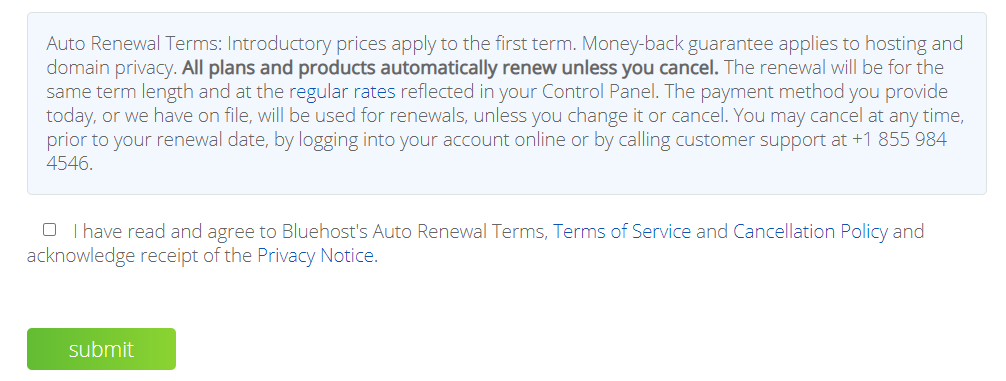
Even better, Bluehost has a 30-Day Money-Back Guarantee. Note that this will refund your payments for hosting services only. Also, how long it takes to be credited back to your account will depend on the bank that issued the card you used to pay.
After all of that, you will be greeted by Bluehost’s Terms of Service.
Congrats!
You are now ready to get started with BlueHost! That was pretty easy, right?
How to Make an Artist Website Step 3: Set Up WordPress
What’s great about BlueHost is that you get a 1-click installation for WordPress.
WordPress has a user-friendly interface and is considered “noob-friendly.” You can also follow Bluehost’s process guide to getting acquainted with WordPress.
How to Set Up WordPress
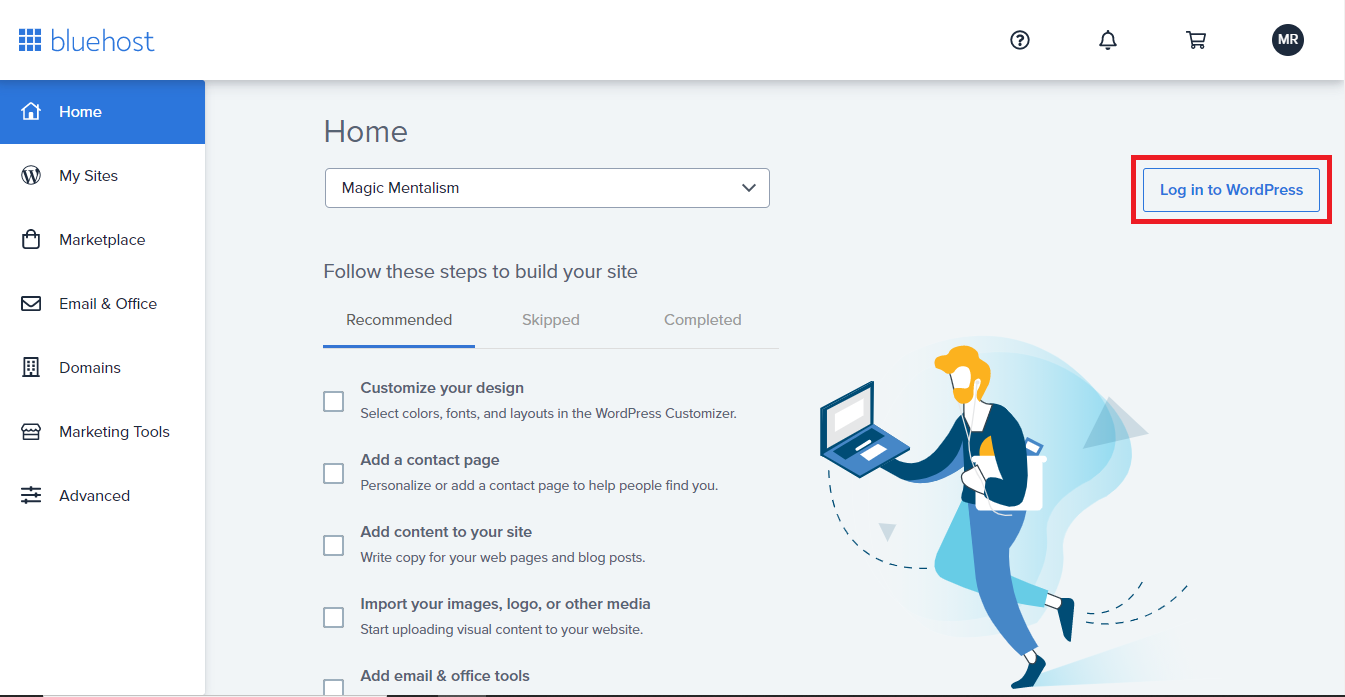
First, you have to set up your account with Bluehost. You can do so by finding the email they send you upon sign-up.
There, you can log in to WordPress.
You’ll find WordPress and its dashboard.
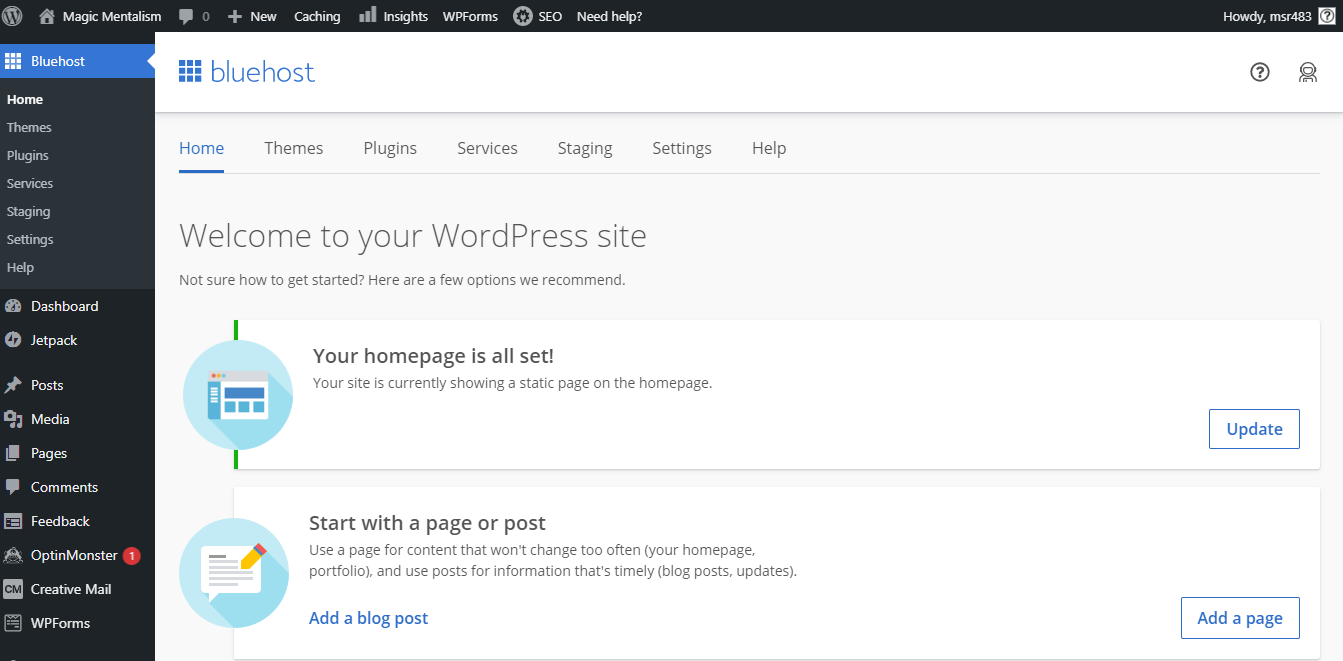
Nice! Now, you can access its arsenal of tools. You can dedicate some time to exploring its entire suite of services and gain more insight into what you want to utilize on your website.
How to Make an Artist Website Step 4: Choose Your Website’s Theme
This is where you can let your expertise lead the way. Let your creative juices flow. You can start by choosing a theme.
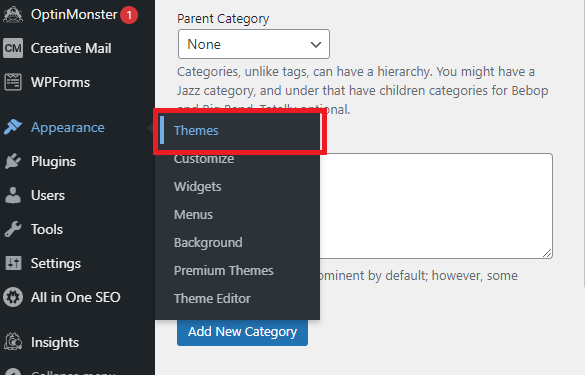
On Bluehost‘s dashboard, hover over Appearance. Select Themes on the window to the right.
You can see a variety of themes and templates to choose from for your website. WordPress also offers themes that suit artists and their artwork.

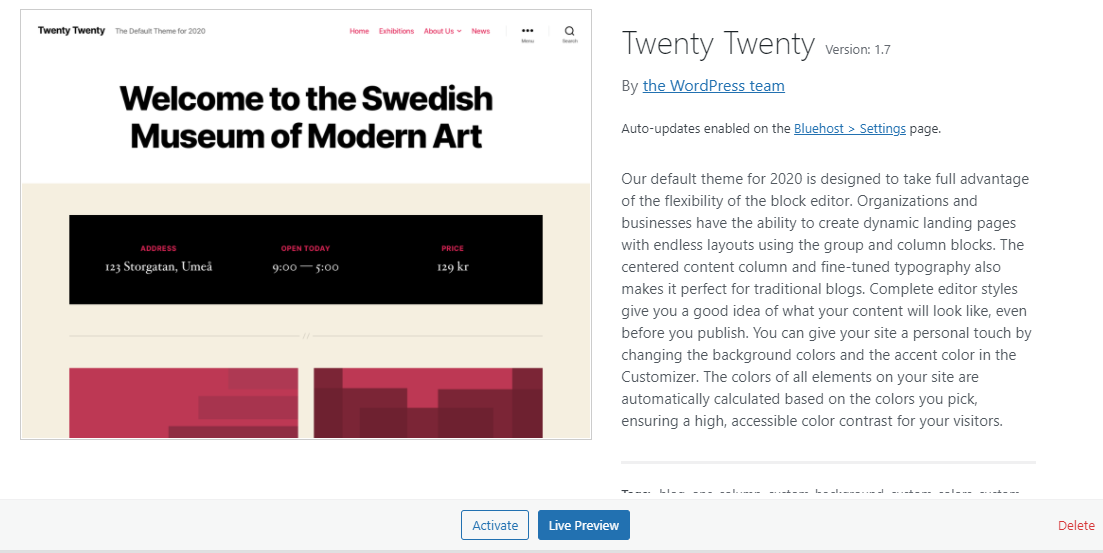
Remember, the theme you choose doesn’t have to stay the same way. It will only serve as your website’s skeletal framing. As an artist, you’ll be able to work your magic later on.
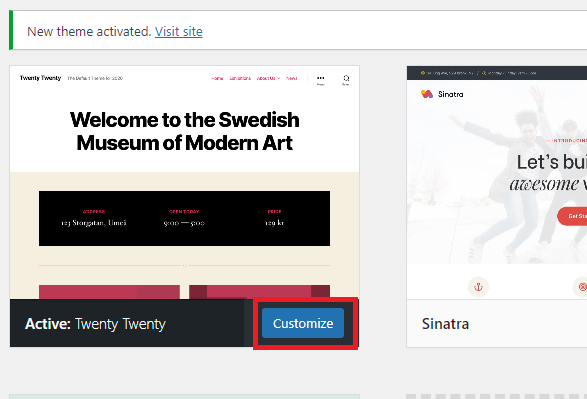
Now, when you find a theme, click Activate to set it in place. At the bottom, you will see a Customize button. Tap on it to customize your current theme.
The list of options you can customize will appear.
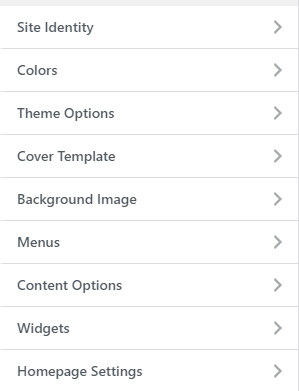
Let’s talk a bit about which serves essential purposes and which you can leave for later.
Site Identity
This is your name, tagline, logo, and other visual aspects that represent your brand at a glance.
Colors
You can opt for a basic color palette or an entire spectrum of colors and adjust their contrasts.
Theme Options
You can finalize these later on, but this is responsible for optional integrations like a search bar or an author’s bio.
Cover Template
The text on the pages of your site that sit on background photos has colors you can adjust. You can pick out their colors and opacity concerning your background.
Background Image
You can enhance the representation of your brand by incorporating a background image. You can also leave this up for later as it’s an optional component. That said, it’s a good option to have for artists like you.
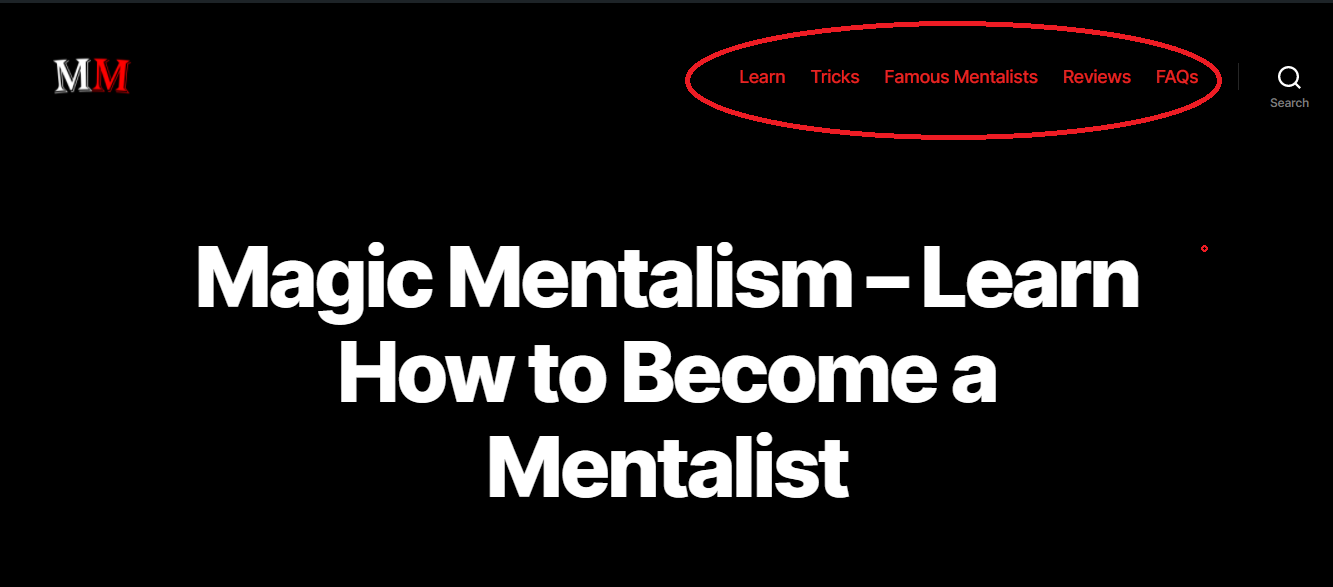
Menu
This is an important feature that needs your attention immediately. Building your website means providing a “site map” that helps visitors navigate with ease.
Content Options
These provide visitors more insight into your site’s content: Photographers of art featured on your site, post dates, authors of blogs, etc. These serve as the footnotes on your website.
Widgets
Another optional feature you can integrate into your site is widgets. This is where you can link to Facebook, Instagram, LinkedIn, or a gallery’s website that features your work.
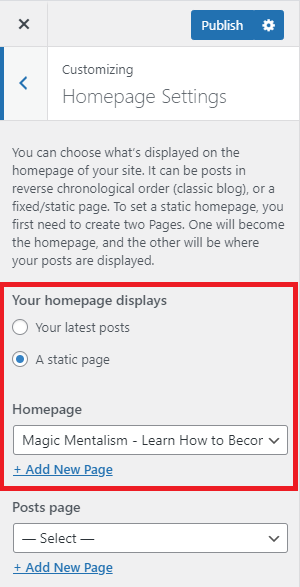
Homepage Settings
This page is an essential aspect you should prioritize. Dedicate more time to this as this will serve as your website’s main page.
You’ll have to set this page as “static.”
To do that, select the dropdown menu and click on the page you want as your main page.
Remember that your website’s aesthetic matters and makes an impression on visitors. In a way, you need to “prove your art”.
Convey your personality and technique through all the visual components of your website.
And, don’t forget to add pages and categories.
Pages
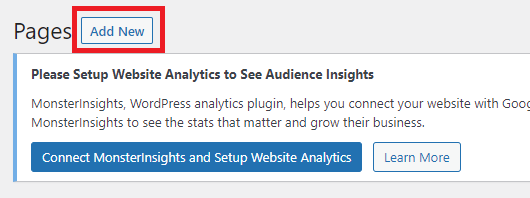
Click Pages from the Options column to the left of your WordPress dashboard.
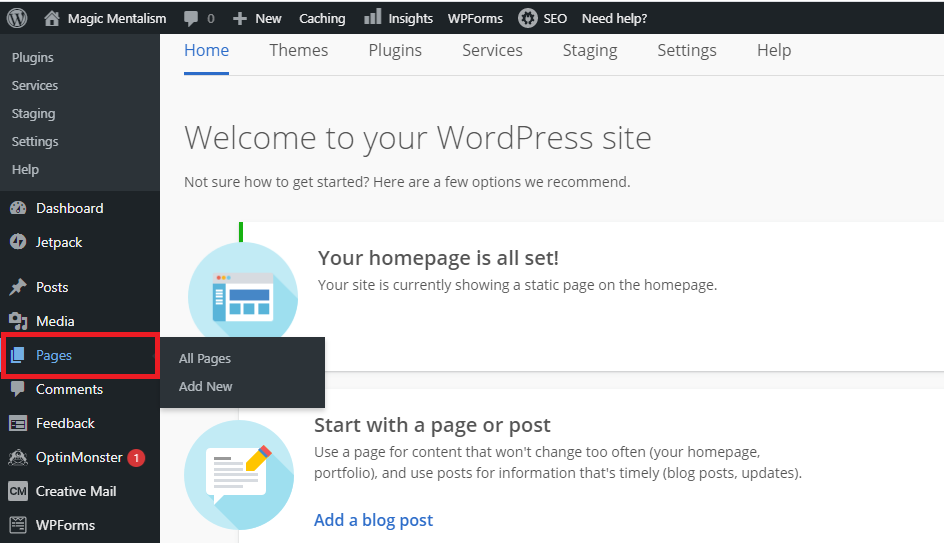
Here, you’ll see all your existing pages. This is also where you’ll find the Add New option.
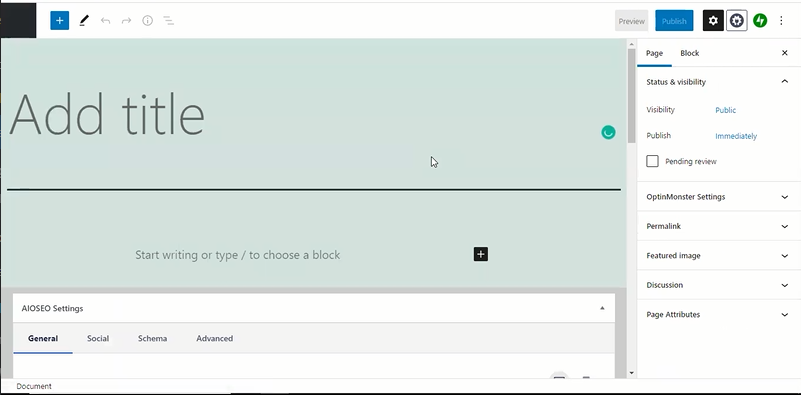
For now, only add a title for each page and publish.
You can design them later on.
Don’t forget about your Homepage! It needs to be factored in to serve as your site’s anchor page.
Your other pages should be composed of what you think your visitors and followers will look for when visiting your site.
Home (Services/Sample Portfolio) > About Me > Full Portfolio > Contact > Testimonies > Case Study > Blog
The above is just a standard template. Of course, you can choose your own setup. You can also play around with the words.
Categories
Set up your website’s Categories.
This is how you automate the distribution of additions made to your site.
Where do your write-ups go? How about the new artwork you want to feature?
For that, go back to Bluehost’s dashboard, hover on Posts, and click on Categories.
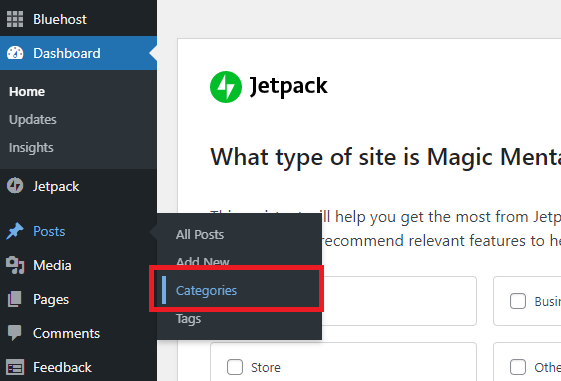
Then, click on Add New to add more categories.
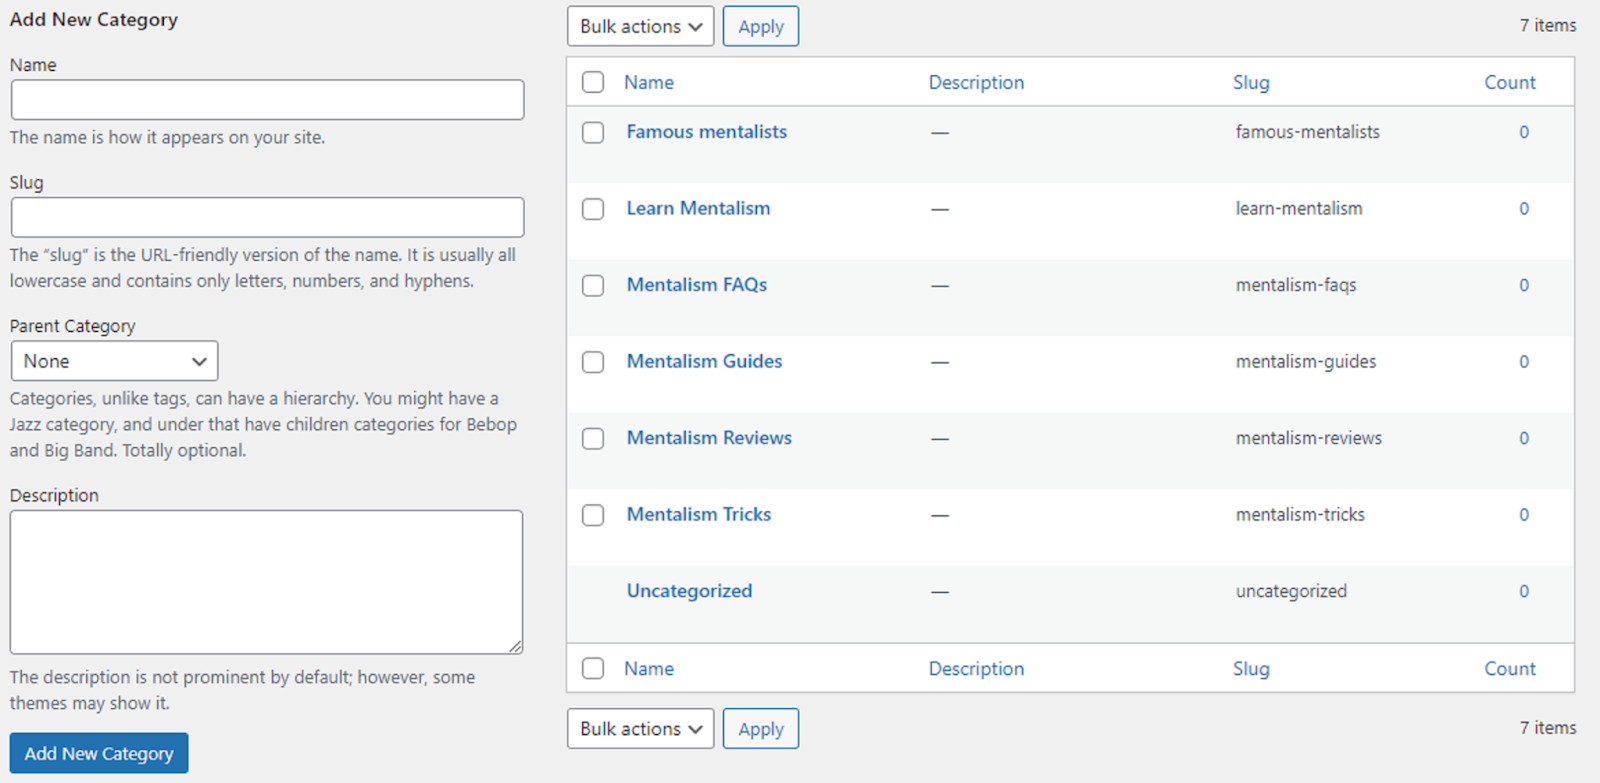
On the right, you can see all your existing categories. Work on what additions you want to go in which category.
How to Make an Artist Website Step 5: Paint the Town Red!
Now that you know all the steps to make a website, you can turn your blank canvas into whatever you want.
Don’t take WordPress for granted. Its wide variety of options can help you create a site that’s tailor-made for you.
With hundreds and millions of websites, make sure you create a unique site for your brand.
Remember to allot the most time to your homepage. Along with its overall function, your main page is the most definitive aspect of your website.
Viola
And there you have it.
You now have an online art website.
Congrats!
As you can see, with the right hosting and CMS, you don’t have to go through all the challenges of coding. You can build your own website from scratch without knowing a line of code.
So what are you waiting for?
Now that you know how to build an artist website, go ahead and get started!
We assure you, your brand and art will be appreciated by more people — even those from different countries.