
Having graduated with a medical degree, you never thought that it would involve creating a website.
But now, you see the benefit of it as you need to reach more patients and keep them updated with the services you offer.
However, when you think of making a website, you’re probably thinking of all the coding involved – like HTML and CSS. Hearing those two words makes you shiver and somehow discouraged to even try.
Well, we’re here to show you an easy way to make your website — yes, with no coding involved.
We’re going to walk you through the 5 main steps on how to make a medical practice website using Bluehost and WordPress.
Let’s jump right in!
Video Tutorial: How to Make a Medical Practice Website
Check out this video for a visual aid on how to make a medical practice website:
How to Make a Medical Practice Website in 5 Steps
Here are the 5 steps to creating a medical practice website:
- Plan your website
- Get a domain and hosting
- Set up WordPress
- Create pages and categories
- Choose your WordPress theme
Let’s get into the details.
How to Make a Medical Practice Website Step 1: Plan Your Website
The first thing you want to lock in while planning your website is to identify key information any patient will want to know. You need to get into their shoes and list down what they will immediately look for while searching online.
A few things initially come to mind – the services/treatments you offer, an “About Me” page, contact and location details, how to book a consultation, and even testimonials or reviews.
A testimonials page? Yes, we recommend you have one. This helps build your credibility and trust amongst your patients. Think of this as your word-of-mouth source, but online.
Identifying these things is important as they will serve as the main pages of your website.
Of course, you can expand this and branch off to different categories — it’s up to you. But it’s very important to have that backbone ready.
Here’s a sample of how to plan it out:
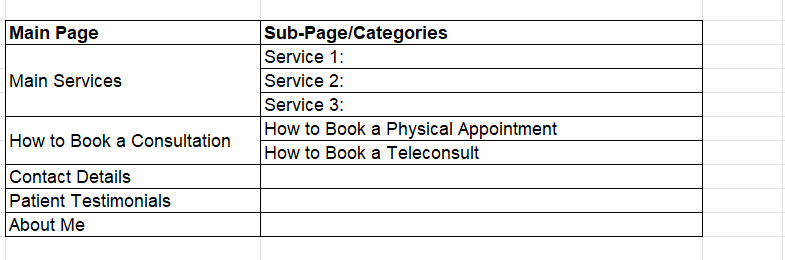
You can do your own brainstorming. If not, this is a simple guide on how you can see an overview of your future website.
How to Make a Medical Practice Website Step 2: Get a Domain and Hosting
Once you have planned everything, it’s time to get started.
The first step is to pick your domain and hosting.
“Domain and hosting? What are those?”
A domain or a domain name is the address of your website or simply what you type in the URL bar to land directly on your site.
On the other hand, hosting is where all your site’s files are stored. So when your visitors go to your site, this is where your site retrieves or transfers data from.
Now, as we said, we’ll be using Bluehost for this tutorial.
Bluehost is a favorite amongst beginners as its dashboard is easy to understand and navigate, it offers various plans depending on needs and budgets, and it has very responsive customer service.
Let’s see how to get started with Bluehost.
1. Head to Bluehost and select your plan
Go to Bluehost.com and click the “Get Started” button on the left.

After clicking, you will see the list of plans available and the feature inclusions.
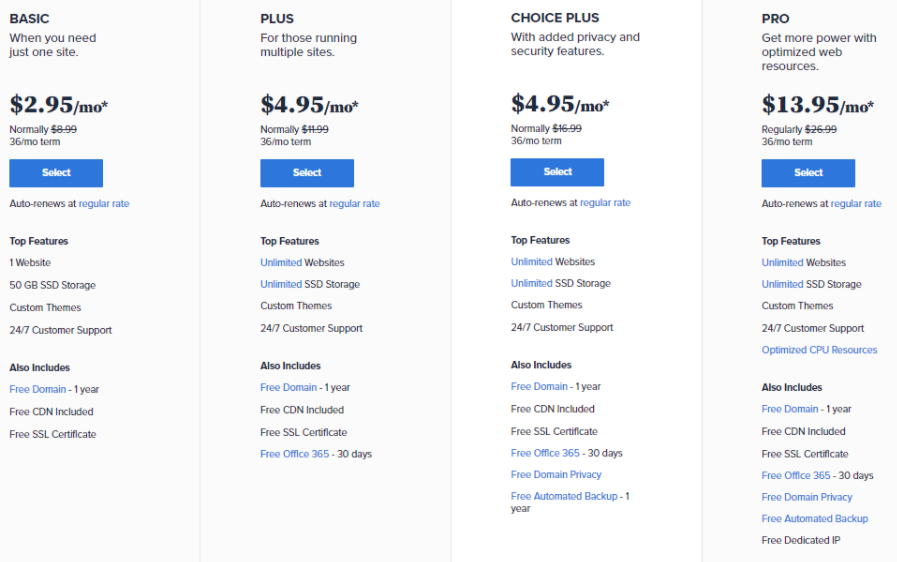
You can select the Basic plan if you’re just starting. But if you see that you’ll need more inclusions, we suggest you go for either Choice Plus or Pro.
2. Choose your domain name
When you select your plan, it’s time to choose your domain name.
You can type this under “Create a new domain”.
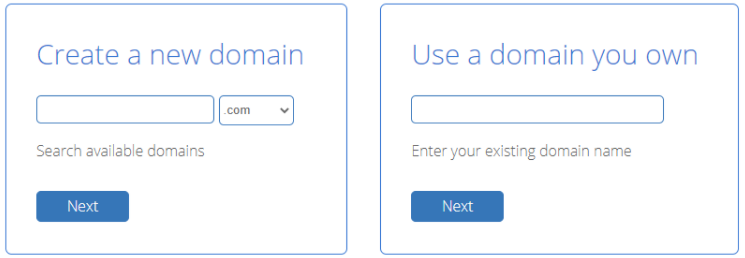
After typing it in, Bluehost will let you know if that name is already taken or not.
If taken, then you have to change it up a bit.
If not, then you’re good to go.
3. Complete your details
Fill in all the required information boxes so you can proceed to the next step.
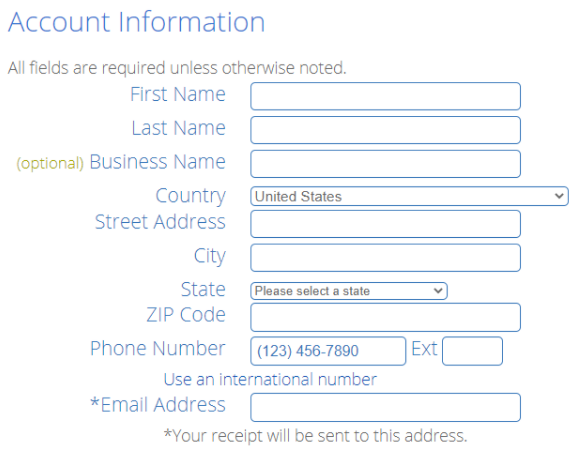
For the email address, I advise that you place your business email address (if you have one) and not your personal one. This way, all updates, and succeeding emails will be sent there.
Afterward, you’ll see your package information, reflecting the plan you chose.
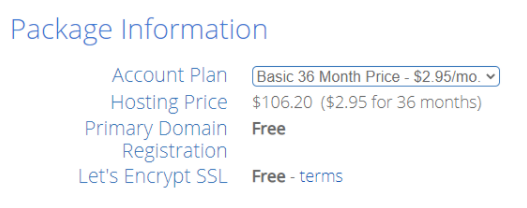
4. Choose your package extras
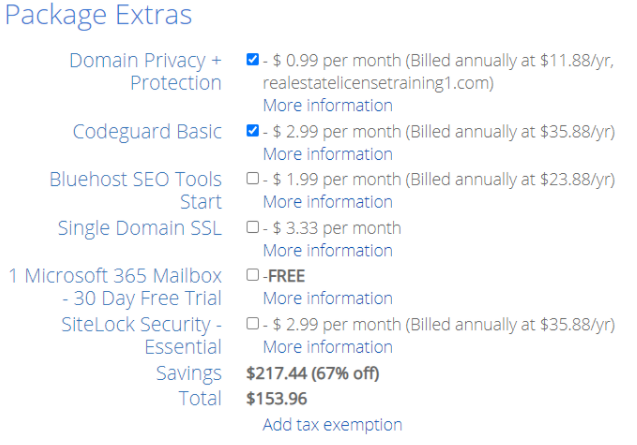
You can add extra features to your package.
Not sure what these are? We’ll give you a quick run-through of all the add-ons and whether they’re worth adding or not.
If you do not wish to include any extras, you may skip this part.
Domain Privacy + Protection. This feature protects your website’s information from surfacing or being found online. By getting this feature, you also prevent your email from getting a lot of spam messages.
Should you get it? For only a dollar every month, we are willing to spend that for an extra layer of protection.
Codeguard Basic. This is a feature that serves as your backup. If you need to do a major refresh of your site, you can simply go to your codeguard and retrieve your site’s data.
Should you get it? 100% yes. Having a backup for your work online is so important. Losing your files is a gutting experience we don’t want you to experience.
Bluehost SEO Tools Start. This is a feature that will help your SEO on Google, Yahoo!, and Bing.
Should you get it? Only if you need to boost your visitors.
Single Domain SSL. SSL or Secure Socket Layer is a certificate that helps protect information shared on your site or your domain.
Should you get it? No, if you won’t be asking for a lot of sensitive and highly confidential personal information. Plus, all the packages already come with a free SSL.
SiteLock Security. This add-on prevents your site from malware and other cybercrime activity.
Should you get it? If you want more top-notch protection, especially if there are medical records to be shared within your site, then you may want to include this.
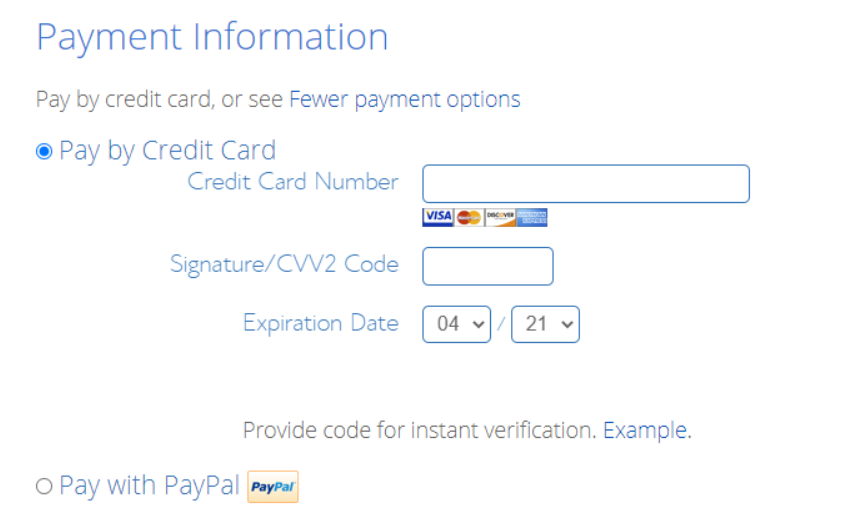
5. Enter your desired mode of payment
Once you’re set, pay from wherever you’re most comfortable. Just keep in mind the final amount that will be billed annually!
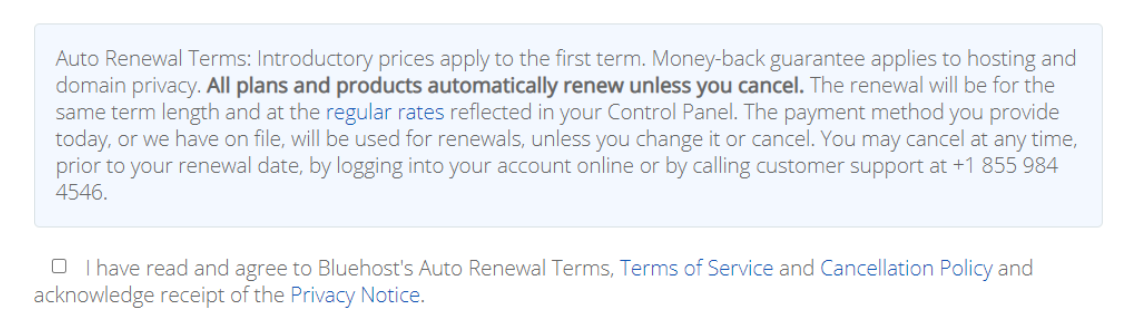
6. Read the terms and submit
To close off the hosting bit, read the terms of service and submit!
How to Make a Medical Practice Website Step 3: Set Up WordPress
Now that you’re done setting up your domain and hosting provider, it’s time to actually make the website with the help of WordPress.
Oh no. WordPress. Another thing you’re clueless about.
Don’t worry — if you’ve followed us signing up with Bluehost, these next few steps will be easy.
Go to your email, set up your Bluehost credentials, and log in. Once logged in, you will be led to Bluehost’s homepage. Here, you will find the login to WordPress.
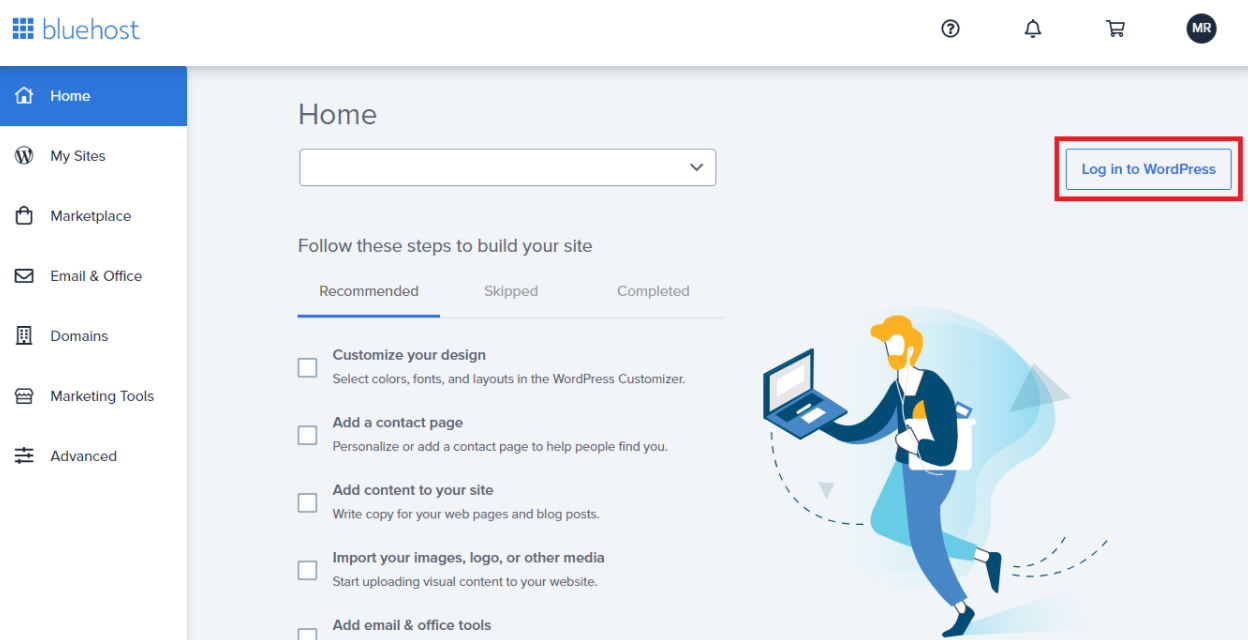
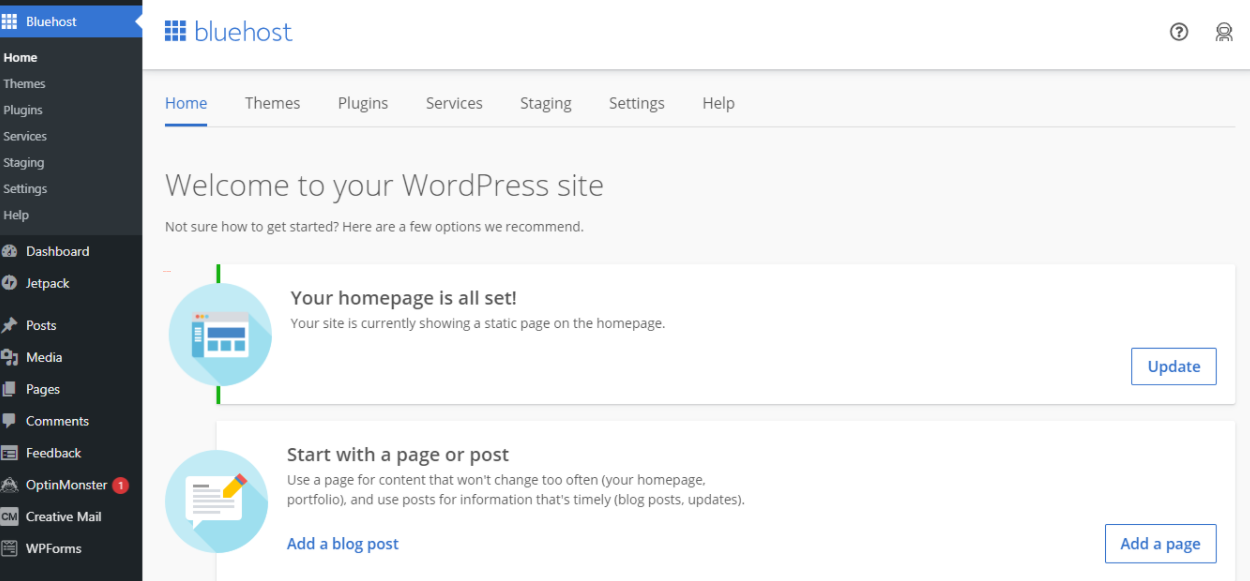
From there, you will be directed to the WordPress dashboard (see photo below).
On the left, you’ll see all the tabs you can play with to customize your site and check for performances. We suggest you dedicate time to check out the dashboard and tabs to familiarize yourself with their functions.
How to Make a Medical Practice Website Step 4: Create Pages and Categories
Remember the list of pages/categories we asked you to list down at the start? Time to bring that out because you’re going to start creating your site’s pages and categories.
Since we’re building this together, we recommend starting with this before you choose your theme. But hey, if you want to start there, then go ahead and experiment!
In the next steps, we’ll be sharing images for easier reference.
Pages
To create your pages, look to the left tabs and click on “Pages.”
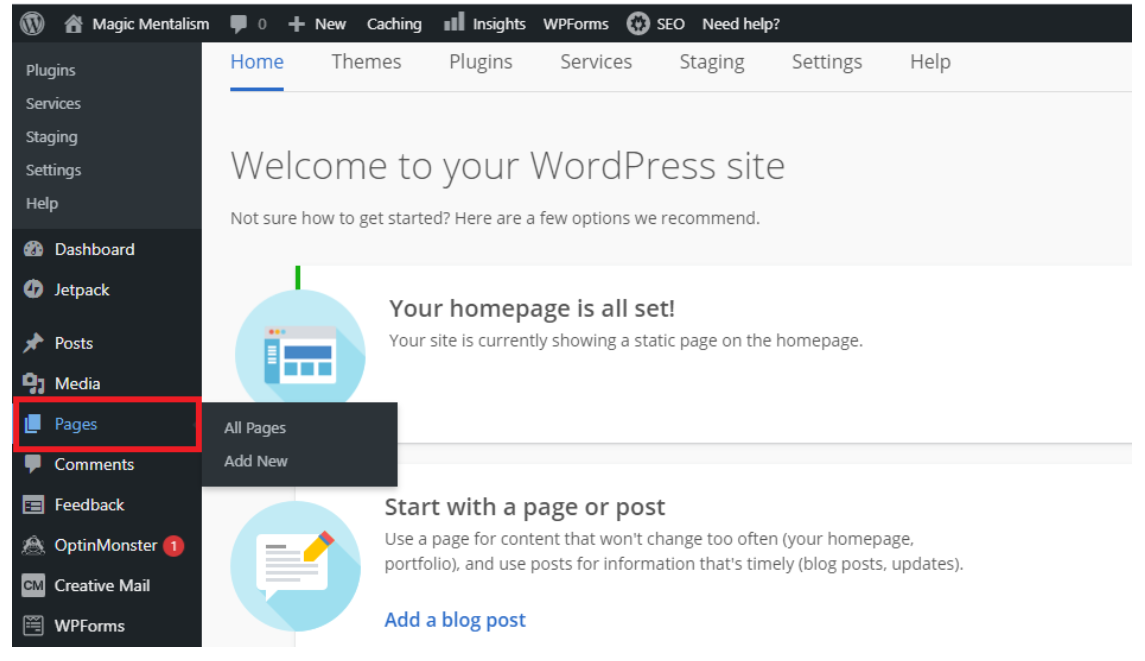
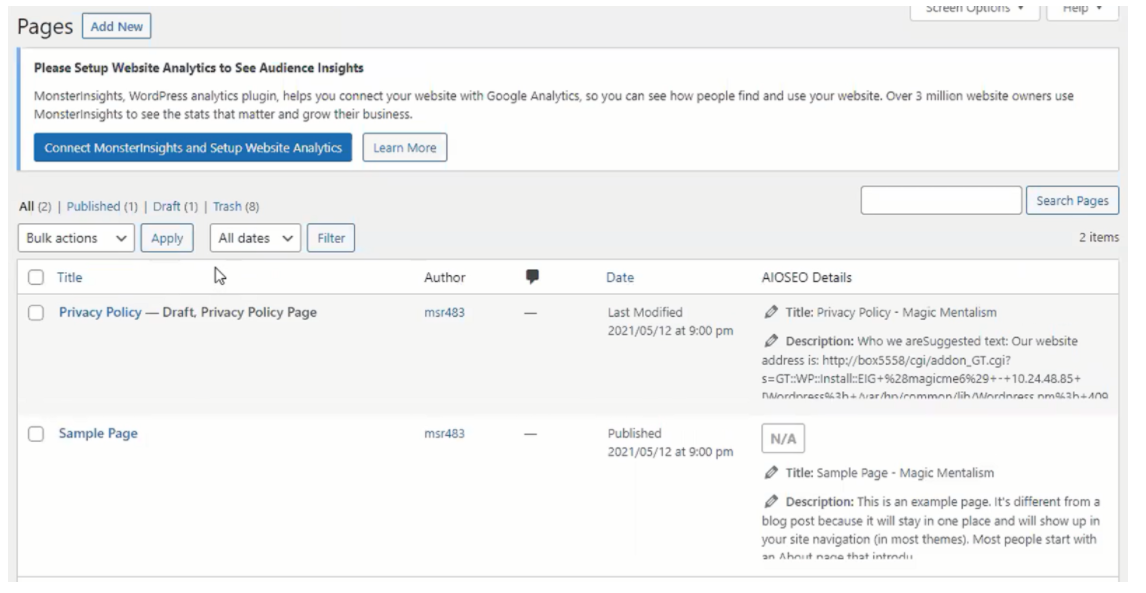
This will lead you to a window where you’ll see all the pages you have on your site.
The default pages you’ll see are the “Sample Page” and “Privacy Policy.” You can delete these pages as you start creating new pages.
For us, it’s important to create these pages first: “Services and Treatments”, “About Me”, “Contact Us”, “How to Set an Appointment”, “Testimonials”, and last but not least a Homepage.
Take note that there’s no default homepage, so include it in your initial set of pages.
Click “Add New” at the top left to create your new pages.
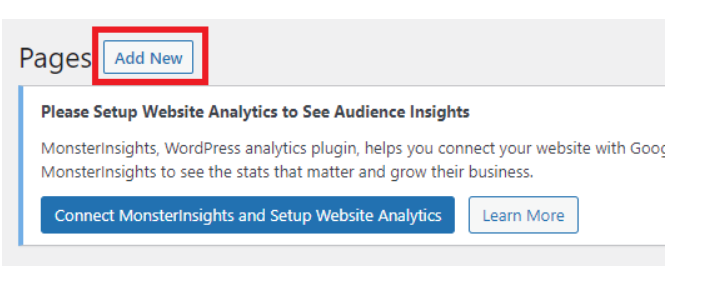
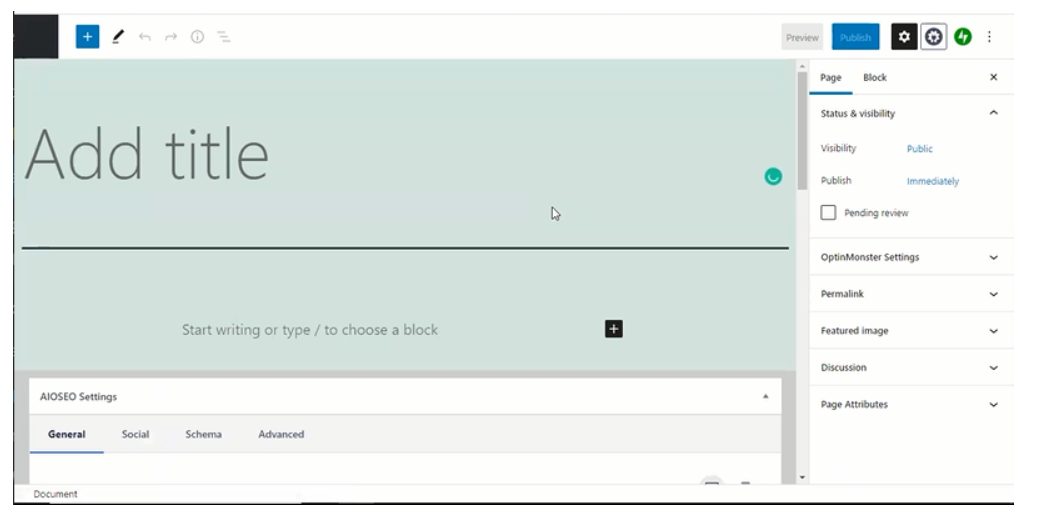
This will now lead you to the Page Builder.
Add the titles first and hit publish. Repeat until you have your main pages created. Your content can come afterward.
Categories
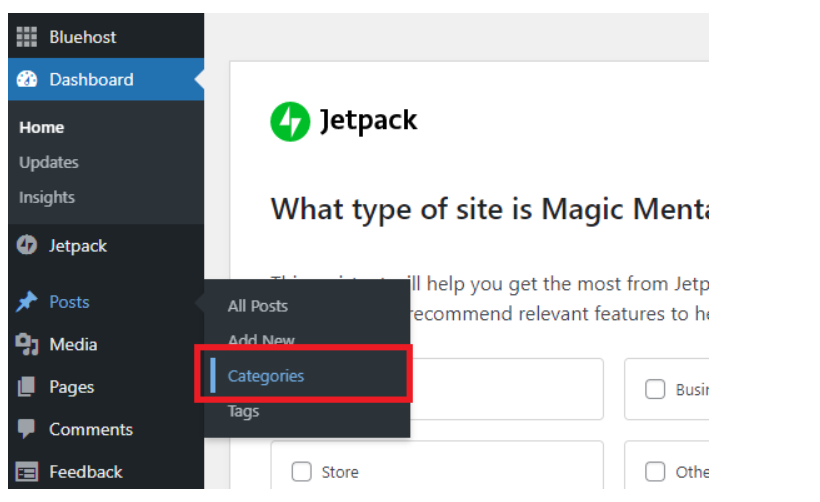
Next up is creating categories. This is important if you want to tag and group similar posts, announcements, and other media on your website.
To do this, go back to the WordPress dashboard, then hover over “Posts” and click “Categories.”
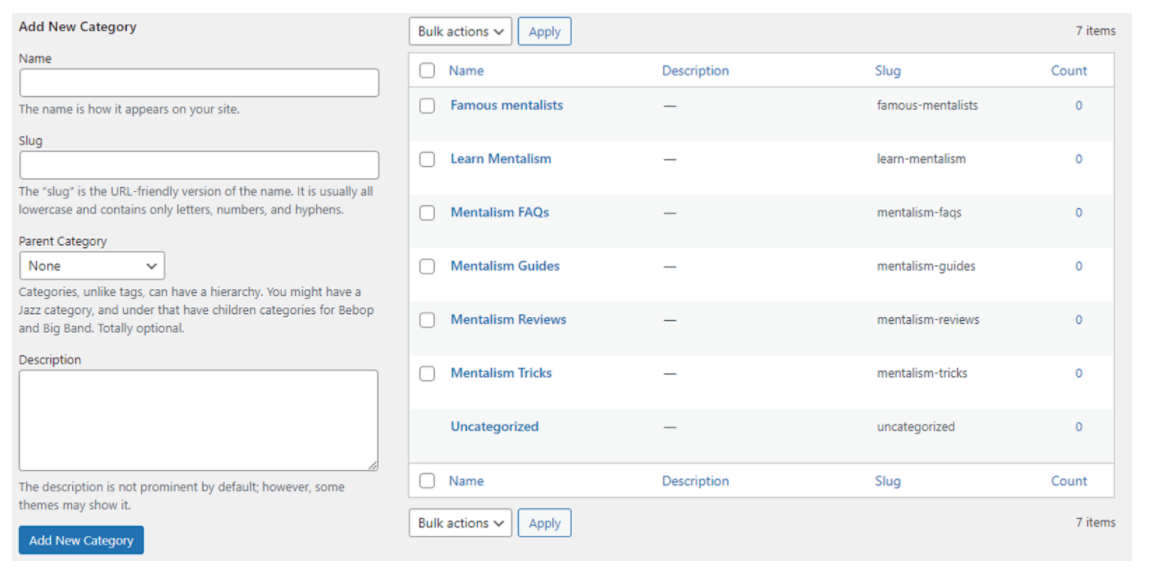
Now, you can create the different categories you want. Once done, you may proceed to the most exciting and creative part – choosing your theme.
How to Make a Medical Practice Website Step 5: Choose Your WordPress Theme
To set up the theme of your website, go back to your WordPress dashboard, hover over “Appearance”, and select “Themes.”
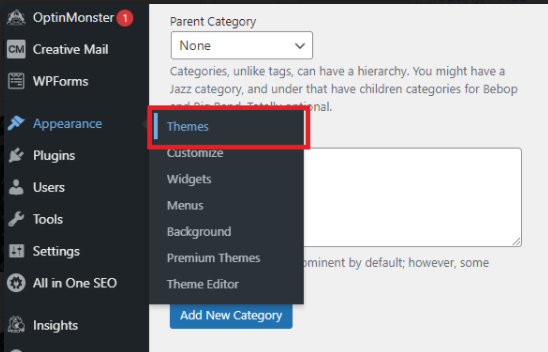
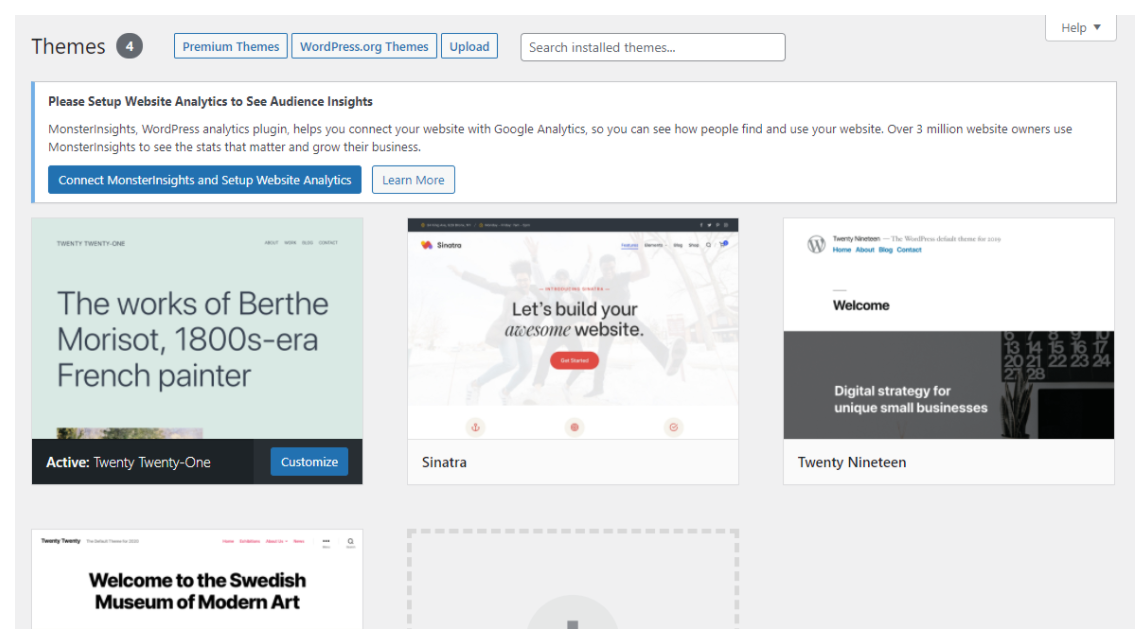
After clicking this, you will find the theme templates available on WordPress. The current default theme is Twenty Twenty-One.
If you feel limited on the available themes, you may search for free WordPress theme templates and upload them here. Don’t worry – there are lots of free ones online! Just take your time and choose the one that’ll suit your medical practice website.
This is the time you can get playful, but don’t forget that this is still your medical practice website. So keep it professional, easy to navigate, and bright on the eyes.
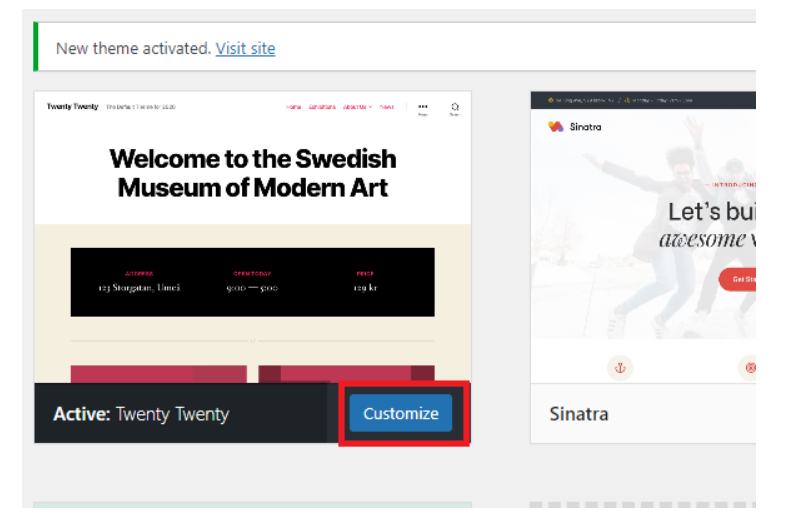
For this example, let’s choose the Twenty Twenty theme.

Once it’s loaded, it’s time to customize it!
If you have a branding or identity in mind, you can check out all these tabs to adjust them.
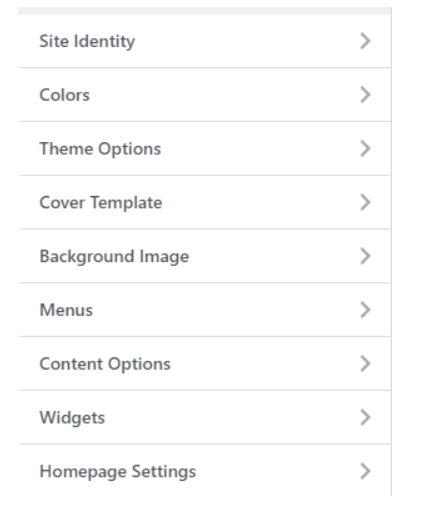
What do the different tabs mean?
Site Identity – This is where your logo, site name, and tagline/headline will appear on your pages.
Colors – Where you can adjust the primary and secondary colors of your selected theme.
Theme Options – This will lead you to another page where you can further customize your selected theme.
Background Image – The background image across your site. You can upload your chosen images here. Just remember that it shouldn’t be distracting given the nature of your website.
Cover Template – This is a window that shows the title of a post or page on top of a specific image. Usually, you can select a solid color with high transparency.
Menus – This is to set up the menu of pages you usually see at the top right areas of a page.
Content Options – This is where you can select which elements appear on your posts. You can include the date of posting, tags, categories, and even the author.
Widgets – See the small icons on pages? Set the location of these widgets and their respective link-outs.
Homepage Setting – Of course, it’s also very important to set this up right away. Don’t worry – the layouts and setup requirements are mostly the same as the items identified in creating pages.
WordPress has so many tools and options that you can fix your site’s elements and contents to your liking, so spend a bit more time testing out the different features and checking all tabs.
Conclusion
So that’s it – how to make a medical practice website in 5 steps.
Sure, it will take some time, but it isn’t impossible. And with the help of Bluehost and WordPress, it will be even easier.
Just make sure to stick to your idea of the website – in this case, medical practice — and add all the information you need.
Good luck!